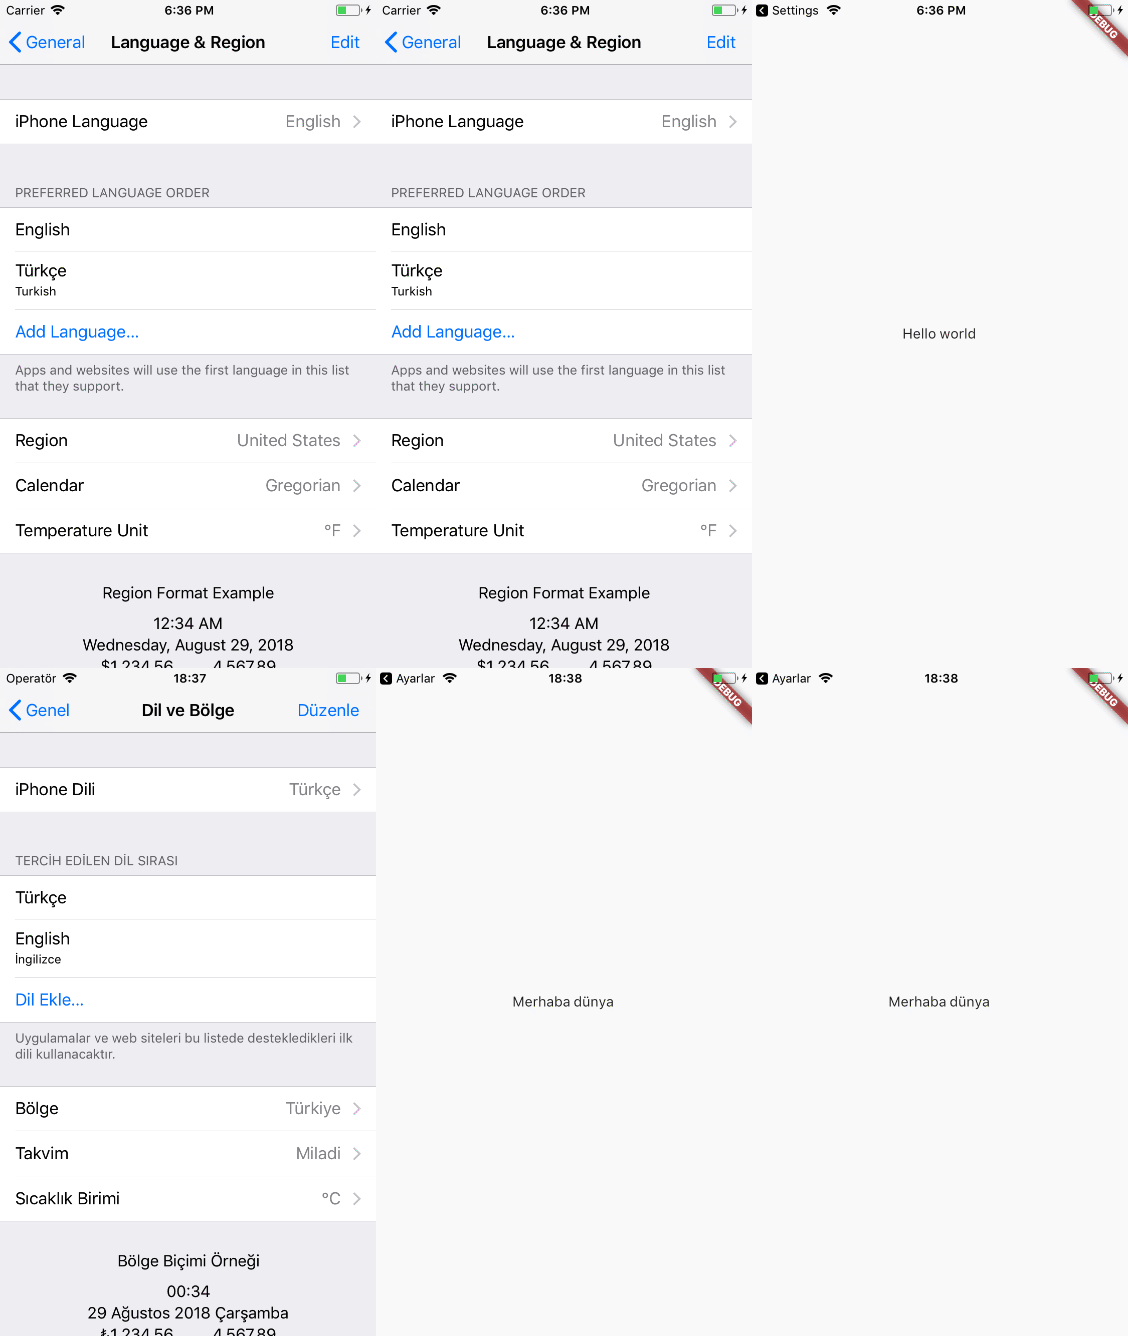
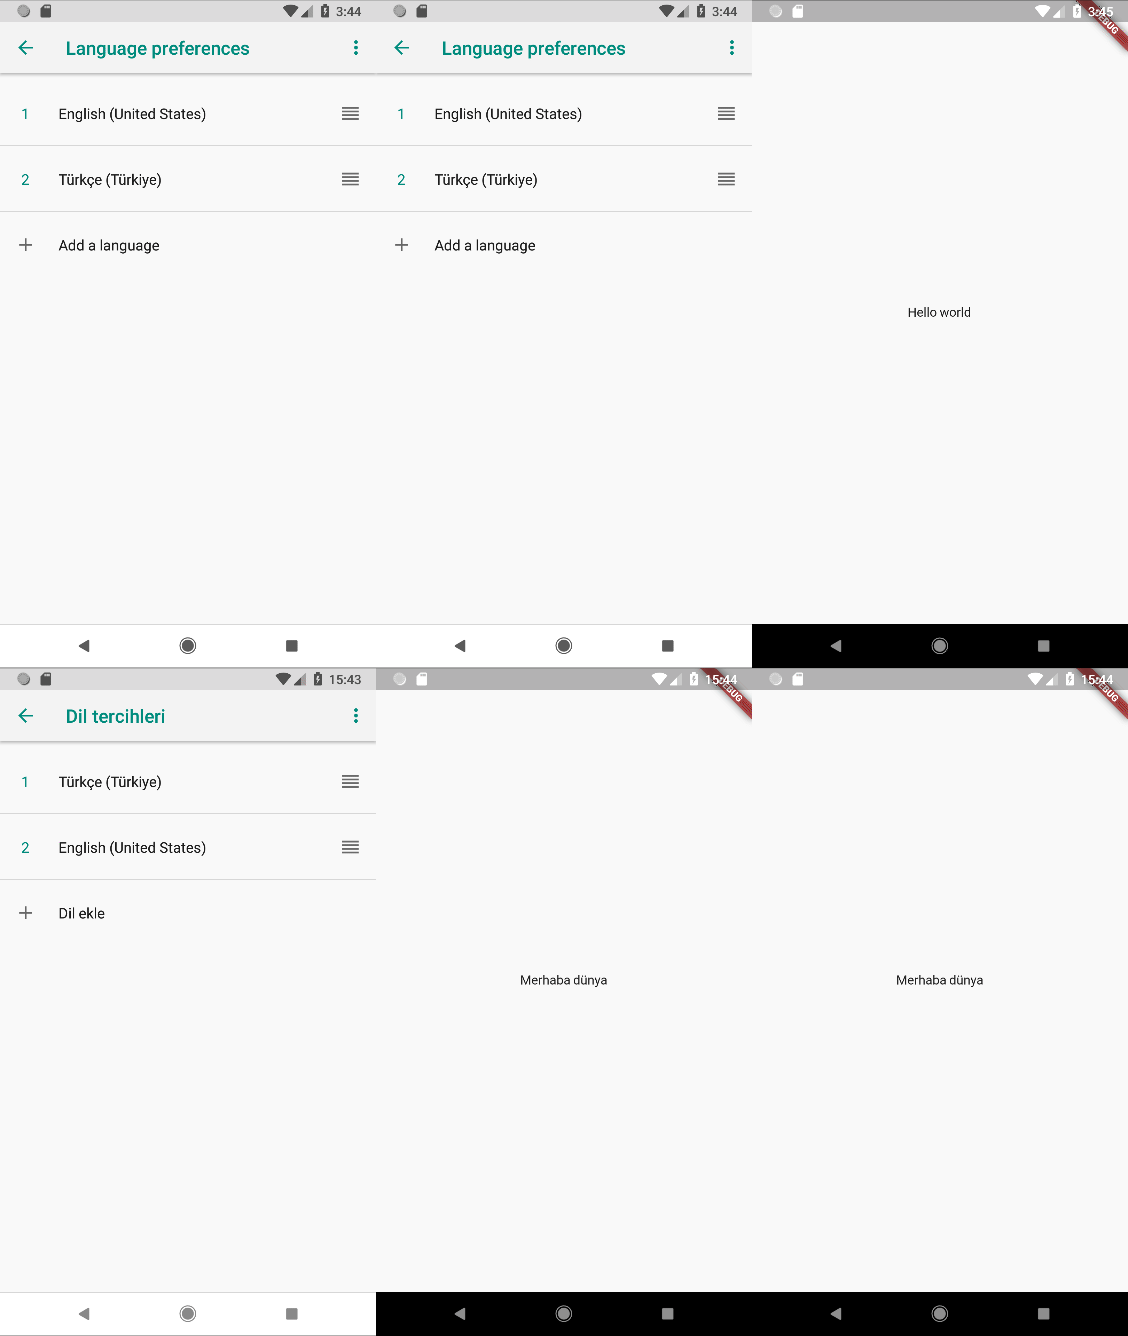
The Flutter has a good document for internationalization but this document is so mixed. Today, the Flutter haven’t any language class or function for using your own sentences on the app but you can create your own language provider and use this easiest. In this tutorial, I'll create my own language provider and I'll get my sentences by json files.
I’ll use a clean Flutter project in this tutorial. Let’s create a new Flutter project and clean your main.dart file for using by this tutorial. In this tutorial, my app have 2 languages which are English and Turkish. The App will show sentences by device language. Let's start!
First of all, you need to prepare your project for using the locazations dependencies. Next, you can start to code your project.
I'll get my sentences from json files. I choose json because a lot of translation tool support this file type. So, I can use this sentences easily in translation tools. Open your Flutter project and create two files for languages.
resources/lang/en.json
{
  "hello_world": "Hello world"
}
resources/lang/tr.json
{
  "hello_world": "Merhaba dünya"
}
Create these files by these contents. I have only one sentences because I just show how to work the localization features in Flutter in this tutorial.
We have json files now but the Flutter doesn't know that files. So, we should say these files are my assets to Flutter. Flutter using pubspec.yaml for looking the your assets files. In this file, you can show assets block. Let's add your files to this code block.
pubspec.yaml
assets:
  - resources/lang/tr.json
  - resources/lang/en.json
Now, we have completed our language files. Next, we need to work on Flutter codes.
Flutter have a localizations package for translating own component by languages. This package supports 19 language today. So, we can use this package for Flutter components. Let's open pubspec.yaml file and add flutter_localizations to your dependencies.
pubspec.yaml
dependencies:
  flutter:
    sdk: flutter
  flutter_localizations:
    sdk: flutter
Next, you should run get packages command for updating your project dependencies. Open your terminal in project and run this code.
flutter packages getYou are ready for using the localizations package.
Now, you can start to code your app. In this tutorial, i have 2 classes for locazations. Let's start coding these classes. I used example codes in this tutorial.
This is a main class of localization. This class will load all sentences by given language then this class give sentences by the loaded languages. This class uses load method for loading the sentences from json files and it can get sentences from loaded sentences with trans method . My Language service will work by sentence keys.
import 'dart:async';
import 'dart:convert';

import 'package:flutter/material.dart';
import 'package:flutter/services.dart';

class DemoLocalizations {
  DemoLocalizations(this.locale);

  final Locale locale;

  static DemoLocalizations of(BuildContext context) {
    return Localizations.of<DemoLocalizations>(context, DemoLocalizations);
  }

  Map<String, String> _sentences;

  Future<bool> load() async {
    String data = await rootBundle.loadString('resources/lang/${this.locale.languageCode}.json');
    this._sentences = json.decode(data);
    return true;
  }

  String trans(String key) {
    return this._sentences[key];
  }
}You have a localization class but we need a Delegate class for using this class on Flutter app. Flutter has a abstract class LocalizationsDelegate for declaring your delegate class. So, we will create a delegate class by extending the abstract class.
import 'dart:async';

import 'package:flutter/material.dart';

class DemoLocalizationsDelegate extends LocalizationsDelegate<DemoLocalizations> {
  const DemoLocalizationsDelegate();

  @override
  bool isSupported(Locale locale) => ['tr', 'en'].contains(locale.languageCode);

  @override
  Future<DemoLocalizations> load(Locale locale) async {
    DemoLocalizations localizations = new DemoLocalizations(locale);
  await localizations.load();

  print("Load ${locale.languageCode}");

  return localizations;
  }

  @override
  bool shouldReload(DemoLocalizationsDelegate old) => false;
}Now, we have our language classes. So, Let's use these classes on Flutter MaterialApp class constructor. We will define our supporting languages in this step. Next, we will define detecting language function. And, we will define our delegate classes and flutter localization package delegate classes.
And I'll add a page for testing the localization of app. When I want to translate a text, I'll use my trans method in DemoLocalizations class.
import 'package:flutter/material.dart';
import 'package:flutter\_localizations/flutter\_localizations.dart';

class MyApp extends StatelessWidget {
  @override
  Widget build(BuildContext context) {
    return new MaterialApp(
      supportedLocales: [
        const Locale('tr', 'TR'),
  const Locale('en', 'US')
      ],
  localizationsDelegates: [
        const DemoLocalizationsDelegate(),
  GlobalMaterialLocalizations.delegate,
  GlobalWidgetsLocalizations.delegate
  ],
  localeResolutionCallback: (Locale locale, Iterable<Locale> supportedLocales) {
        for (Locale supportedLocale in supportedLocales) {
          if (supportedLocale.languageCode == locale.languageCode || supportedLocale.countryCode == locale.countryCode) {
            return supportedLocale;
  }
        }

        return supportedLocales.first;
  },
  title: 'Flutter Internationalization',
  home: new MyPage(),
  );
  }
}

class MyPage extends StatelessWidget {
  @override
  Widget build(BuildContext context) {
    return new Scaffold(
      body: new Center(
        child: new Text(
          DemoLocalizations.of(context).trans('hello_world')
        ),
  ),
  );
  }
}

void main() {
  runApp(new MyApp());
}
That's all. Now, your app can represent your sentences by the device language. Let's give a shot.
You can look the full source code in this repository.
This post source is flutter-news.com.

